Kaldunes
How
to make Kaldunes. Or Kaldunys. Or Caldunis. Or
Caldoonies. Seriously, no one knows how the hell they are
supposed to be spelled. All you have to know is that they are
pronounced "Call-doonies." And that the Ludke Family (my
mom's
family) loves them. I practically grew up on these things.
Step By Step Tutorial:
Step 1:
Assemble the filling ingredients
When I am making these for just my daughter and me (2
people), I use this:
* 1 pound ground beef
* 1 small diced onion
* 1 tablespoon allspice
* salt and pepper to taste
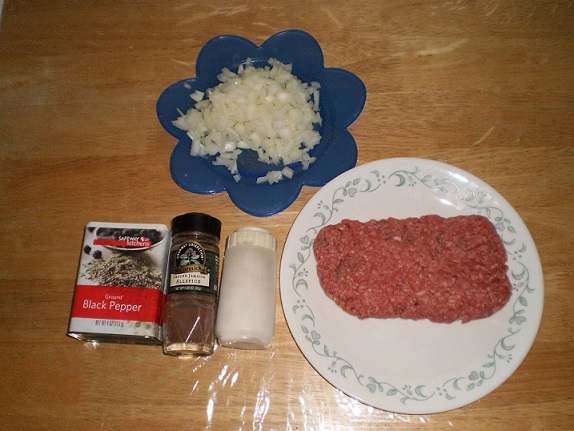
The
filling ingredients - you can use less onion and less allspice if you
want. I just go completely over the top with mine. When my mom
made
them she only used 1/3 teaspoon allspice and 1/3 of an onion per pound
of ground beef. As you can see, I prefer WAY more than that.
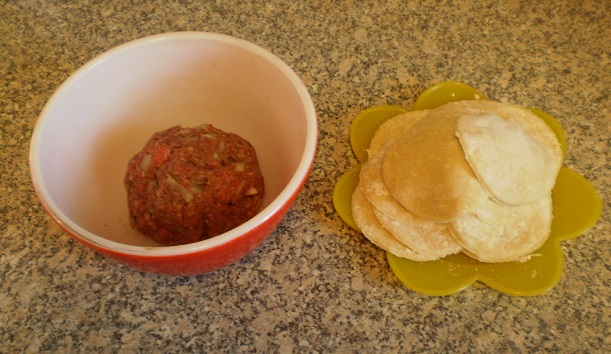
Step 2:
Combine the meat with the spices and onions
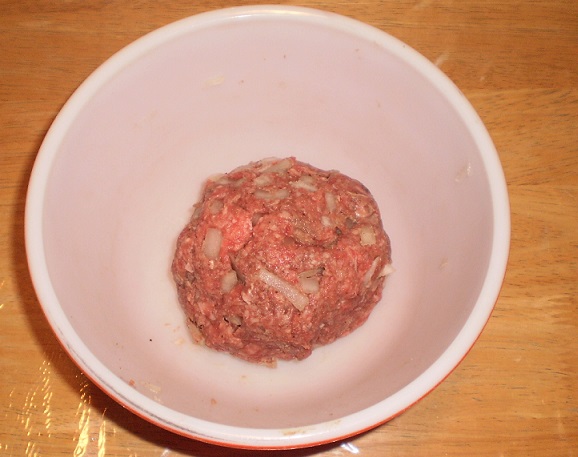
What the filling looks like when it is all combined.
This will be the inside of your kaldunes.
Step 3:
Assemble the pasta ingredients. This will
be the outside of your kaldunes
Again, for my daughter and me,
this is what I use:
* 2.5 cups flour
* 5 tablespoons milk
* 2 beaten eggs
* 1 teaspoon salt
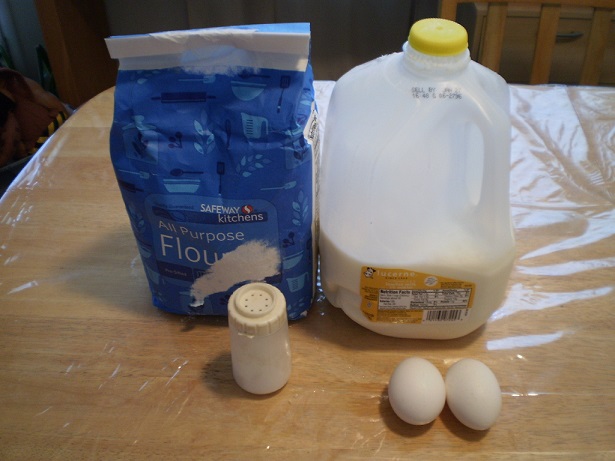
The pasta ingredients
Step
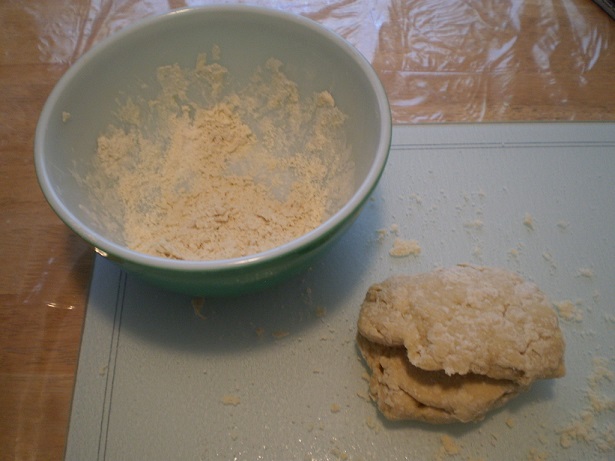
4: In a big mixing bowl, stir the pasta ingredients together
to
make your dough. Warning: This gets really sticky
towards
the end. When you get down to the very end of the mixing,
you
will have to use your hands to knead it all together. If it
gets
too sticky or too firm, you can always add more milk.
At the end of the mixing process, you should have a big ball of dough
that looks something like this:
Step 5:
The fun part. Time to flatten the dough and turn it
into little kaldune shells.
Put
your dough down on a flat surface and cover that surface with flour.
This is so nothing will stick. Then get out a
rolling pin
and just roll the crap out of it. You are trying to turn that ball
of
dough into the thinnest little layer of pasta dough ever.
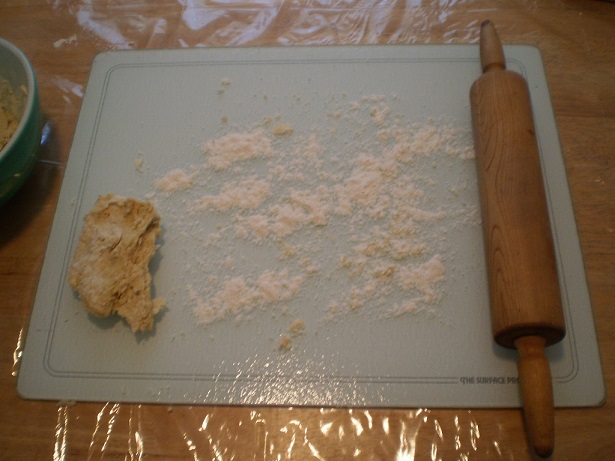
Right before you start rolling it

What
it will look like when you are done rolling it. It will take
a
while to get it this flat. This is very stiff dough
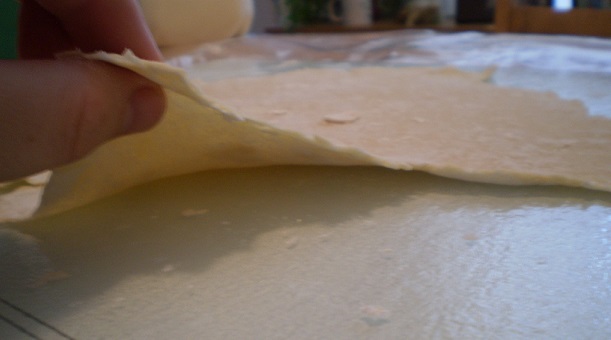
This is the thickness you are going for. You don't
want your kaldunes to be too thick.
Step 6:
Cutting the dough into kaldune shapes.
Grab
yourself a cup with a fairly large brim. Or a cookie cutter.
Or a knife. It really doesn't matter how you do
this. A cup or a mug works perfectly well too.
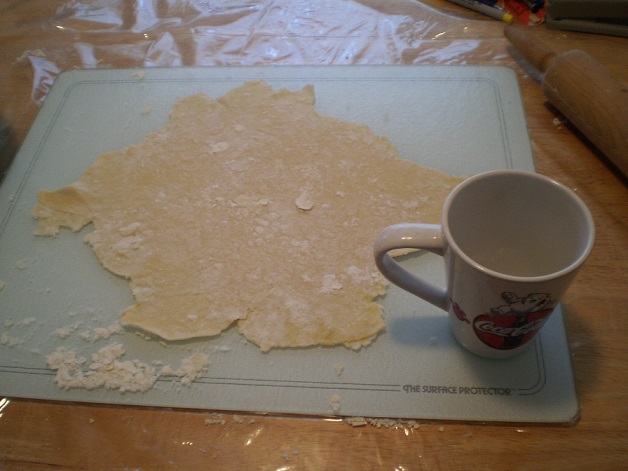
The mug I am going to use to cut my kaldune shapes
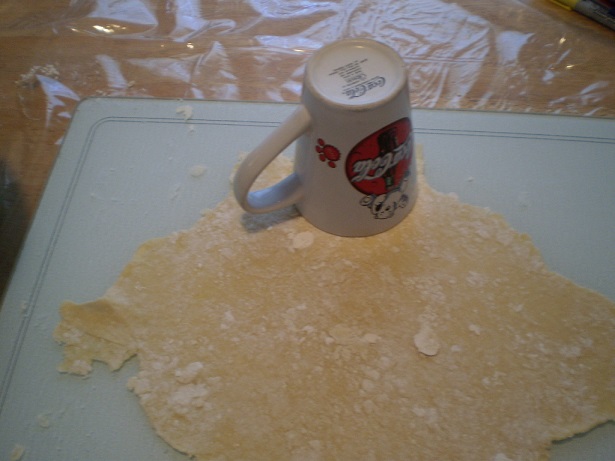
Place the cup upside down, and start cutting out circle
shapes
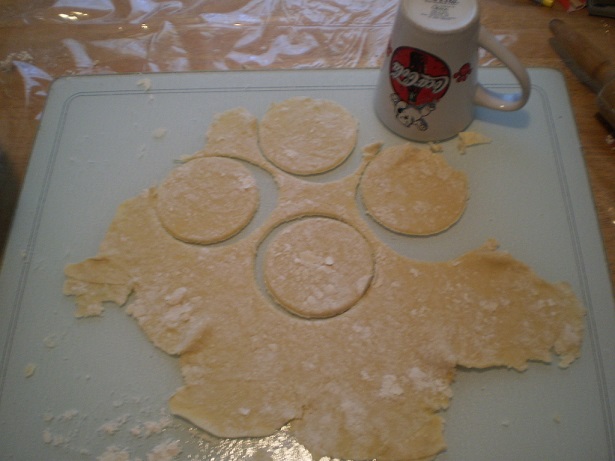
This is what you are going for. You
want them to be circular.

At
the end, you will have a bunch of little kaldune shells (on the yellow
plate) and a bunch of leftover scraps. Just scoop the scraps
up
and combine them into a ball again, and use the rolling pin again, and
you can probably get about 4 or 5 more shells out of them.
Keep
doing this over and over with the dough until you can't cut any more
shells.
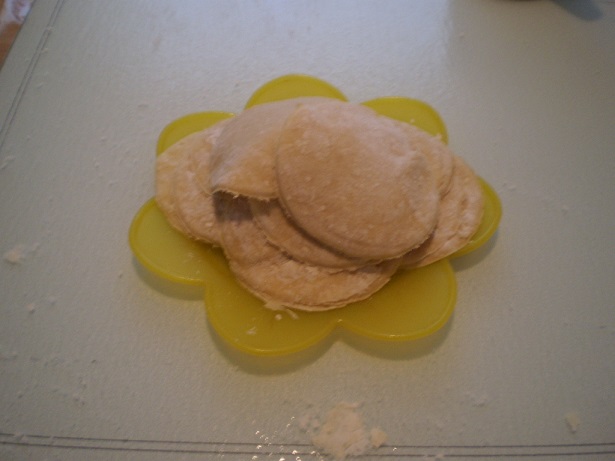
Voila. The end. This batch of dough made
about 18 kaldune shells.
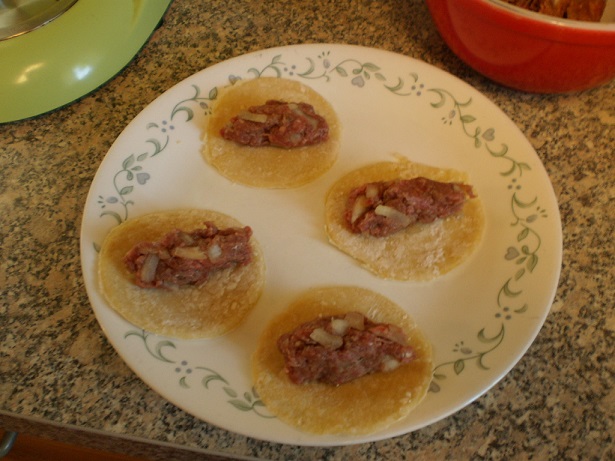
Step 7:
Making the kaldunes
At
this point all the hard work is done and you are ready to enjoy.
Just take a kaldune shell, and fill it with a small amount of
the
meat. Sort of like you are assembling a soft taco.
Before
After. It really doesn't matter how much meat you
use, you just want to be able to close the shell up around it.
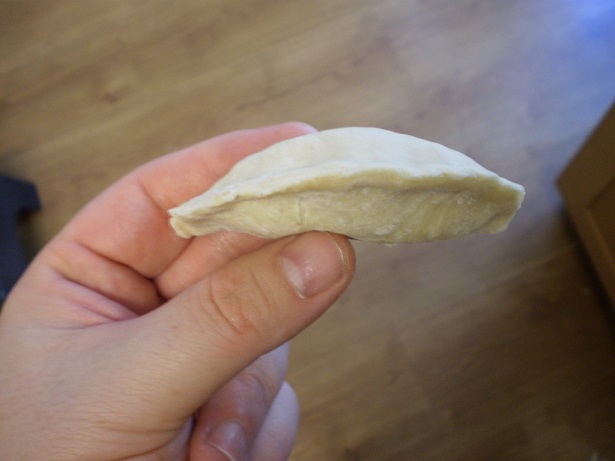
Then
just close the kaldune shell around the meat and seal it up.
Use
your fingers to pinch the top close so it will remain airtight.
This is sort of like making an empanada. At the
end, you
just want it to be airtight. Like the picture above.
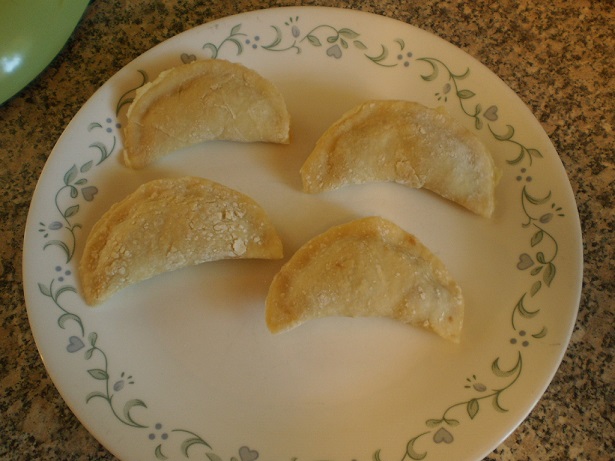
The finished product. These suckers are ready to
boil now.
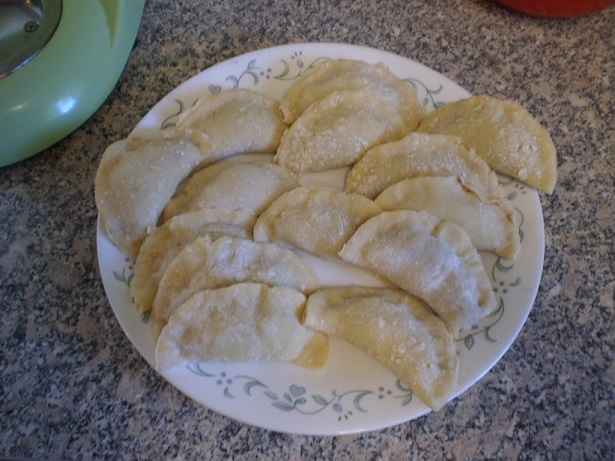
In the end, this batch of meat and dough created fourteen
kaldunes.
Step 8:
Cooking the kaldunes
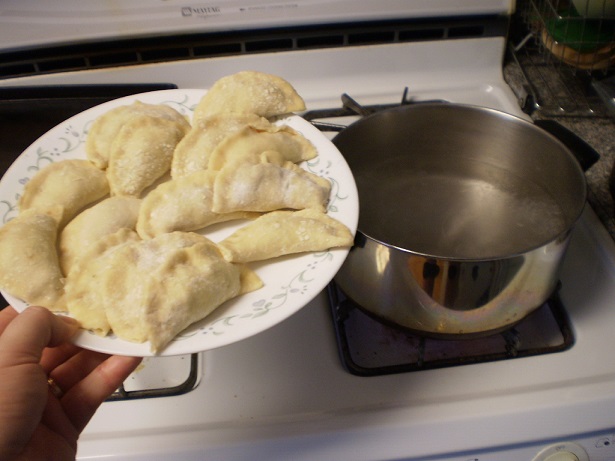
This
step is easy. Just take a big pot of boiling salted water
(with a
little oil thrown in so they won't stick.) Once the water is
boiling, toss them all in. And stir them immediately so none
of
them stick together.
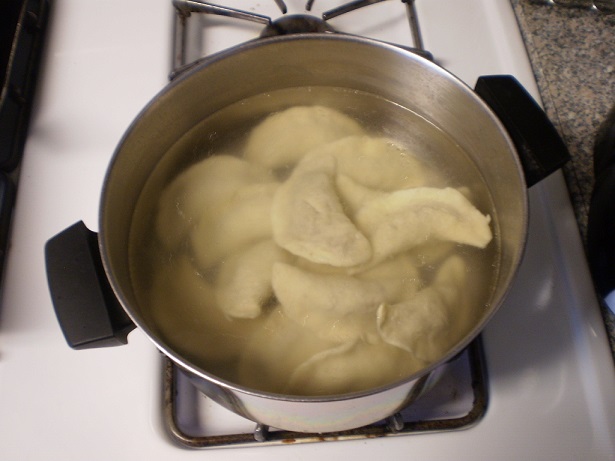
Let
them boil for a few minutes, and when they all float to the top that
means that the meat inside is cooked and they are ready to eat.
Once they are all floating take them out of the water and put
them on a plate.
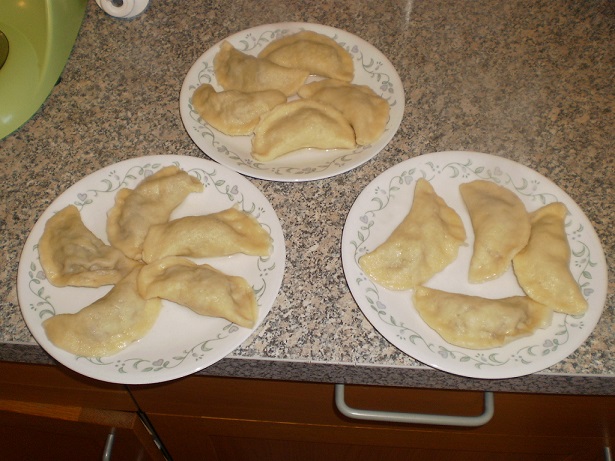
And this is what fourteen finished kaldunes looks like.
Step 9:
Enjoy!
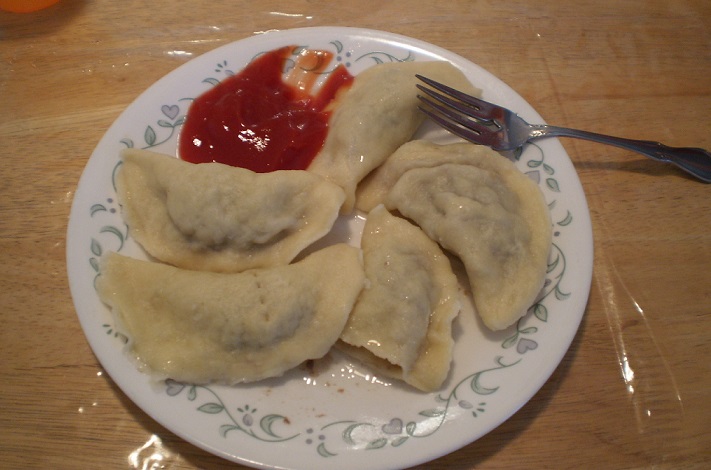
I eat them with ketchup. There are some who eat
them with white sauce, but we don't need to get into that.
Have fun. And enjoy your kaldunes!
This recipe courtesy of my mother, Gloria (Ludke) Lanza.
-Mario Lanza